Please read first
- This page is used to import a list of members to your database.
-
In order to use this page, please use the template spread sheet found here and keep the following in mind;
-
The member sheet contains 10 fields.
> The first 4 fields are mandatory and have to be completed fully in order to import the member into the system. If you are missing any data for the first 4 fields, you will not be able to import the sheet.
> The remaining 6 fields are optional though it is highly recommended that you enter the primary contact cellphone and primary contact email address.
- Only the first 10 columns are imported from the template spread sheet. Please do not add or remove columns.
- The street name of the member has to be spelt exactly the same as the street names that are currently on the system or are to be imported using the streets and zones spread sheet.
- If you wish to add more than one contact number then do so like this; 021 123 4567 / 021 987 6543 (with or without the spaces)
- Do not add more than 1 email address in either of the email fields
- The primary cell phone number, if used, must begin with 07 or 08 only and must not contain spaces - i.e 0826349230. This is to ensure the SMS functions work correctly (if used).
- When saving the spread sheet, please ensure it is saved as an Excel 97-2003 Workbook.
-
The member sheet contains 10 fields.
Importing
- Importing your membership list is a faily simple process if the spread sheet is completed correctly. To import, follow the steps below;
-
click the Browse button and select your file.
Figure 1:
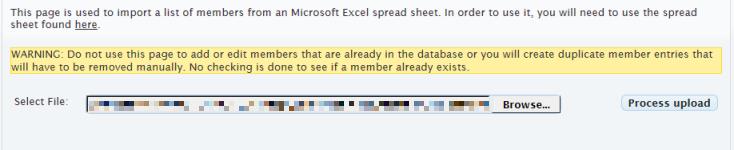
-
Click the Process upload button that appears once you have loaded the file.
The detail you see now will depend on how well completed the spread sheet is. In figure 2 below, you will see there are errors. The rows with errors will be highlighted and to find the problem with a particular row, hover your mouse over the edit button and a small tooltip will appear after a few seconds telling you the problem with that row - in our case the srteet is not listed in the database. You have the oportunity to edit or delete the row - note that this does not affect the contents of the original spread sheet.
Figure 2:

-
If you need to edit a particular row, just click the edit button and scroll up the page and you will see the contents of that row are presented and available to edit- figure 3. click Update or Cancel when done.
Figure 3:

-
Once any errors have been resolved you will see the following screen;
Figure 4:
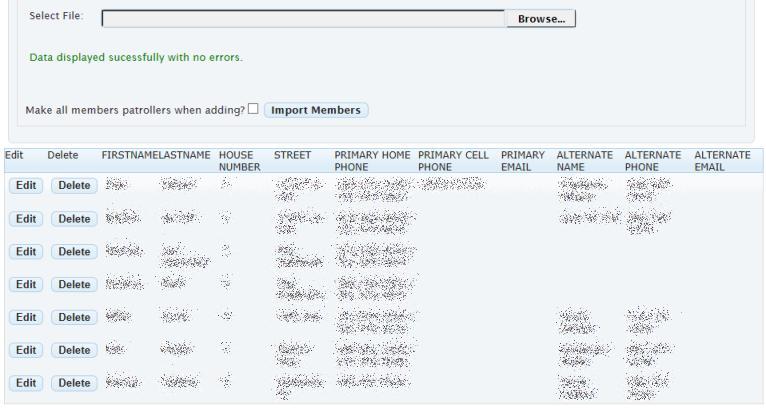
You now have the ability to import your members by clicking the Import Streets button. If you wish to make all members a patroller as they are imported, select the Make all members patrollers when adding check box before clicking the import button.
-
Depending on how many members you have, the process of importing may take a while so please be patient. At the end of the process you will be presented with a list the imported members and whether or not they were notified by email.
Figure 5:
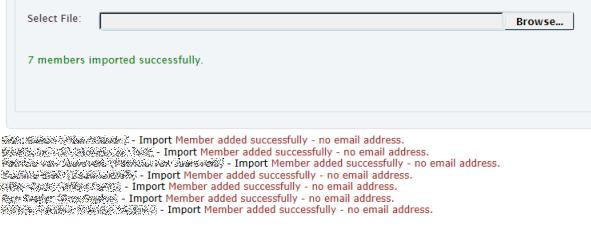
- Finally, visit the Member Administration page to ensure that all the members were in fact imported correctly.